Last updated 03-03-2025
New versions of Raspberry Pi OS released 11-19-2024
https://www.raspberrypi.com/software/operating-systems/
Last updated 1-21-2021
Note the new dual micro HDMI connectors (up to 4kp60 supported), 2 USB 3.0 connectors and full gigabit network connector now. It is available with 2, 4, or 8 GB of LPDDR4-3200 SDRAM with the 2 GB model selling for $35 .
Also now available built into a keyboard (keyboards eventually wear out leaving you no salvageable parts, so I prefer mounting the Pi 4B in a small case on the back of my monitor and with a wireless keyboard/mouse so no cords needed between the monitor with the Pi 4B and the keyboard/mouse unless using headphones).

This is a game changer for energy efficient computing. It costs less than a zero client while locally being fast enough to serve as a desktop computer for most used applications. In an educational computer lab, all you now need is a file server for students to save their files, submit homework to teacher, and receive comments on their homework. You will probably want to setup network booting to centralize administration and avoid microSD cards failing or being stolen. https://raspiplayer.com/piserver/
Mine uses 3.6-4.1 watts idling at the Desktop with one 1920×1080 monitor, Logitech unifying wireless keyboard/mouse receiver, and headphones attached. Playing a Youtube video raises power usage to 4.3-5.6 watts.
There are multiple OS that can be installed. Since I experiment with burning different MicroSd cards, I prefer the manual install to the automatic Raspberry Pi method. Download the OS image from this link https://www.raspberrypi.org/software/operating-systems/
I like BalenaEtcher because it protects against overwriting your internal hard drive and validates the flash after writing. Get it here https://www.balena.io/etcher/ If you already have one raspberry pi Desktop set up, use their image burner or sd card copy instead.
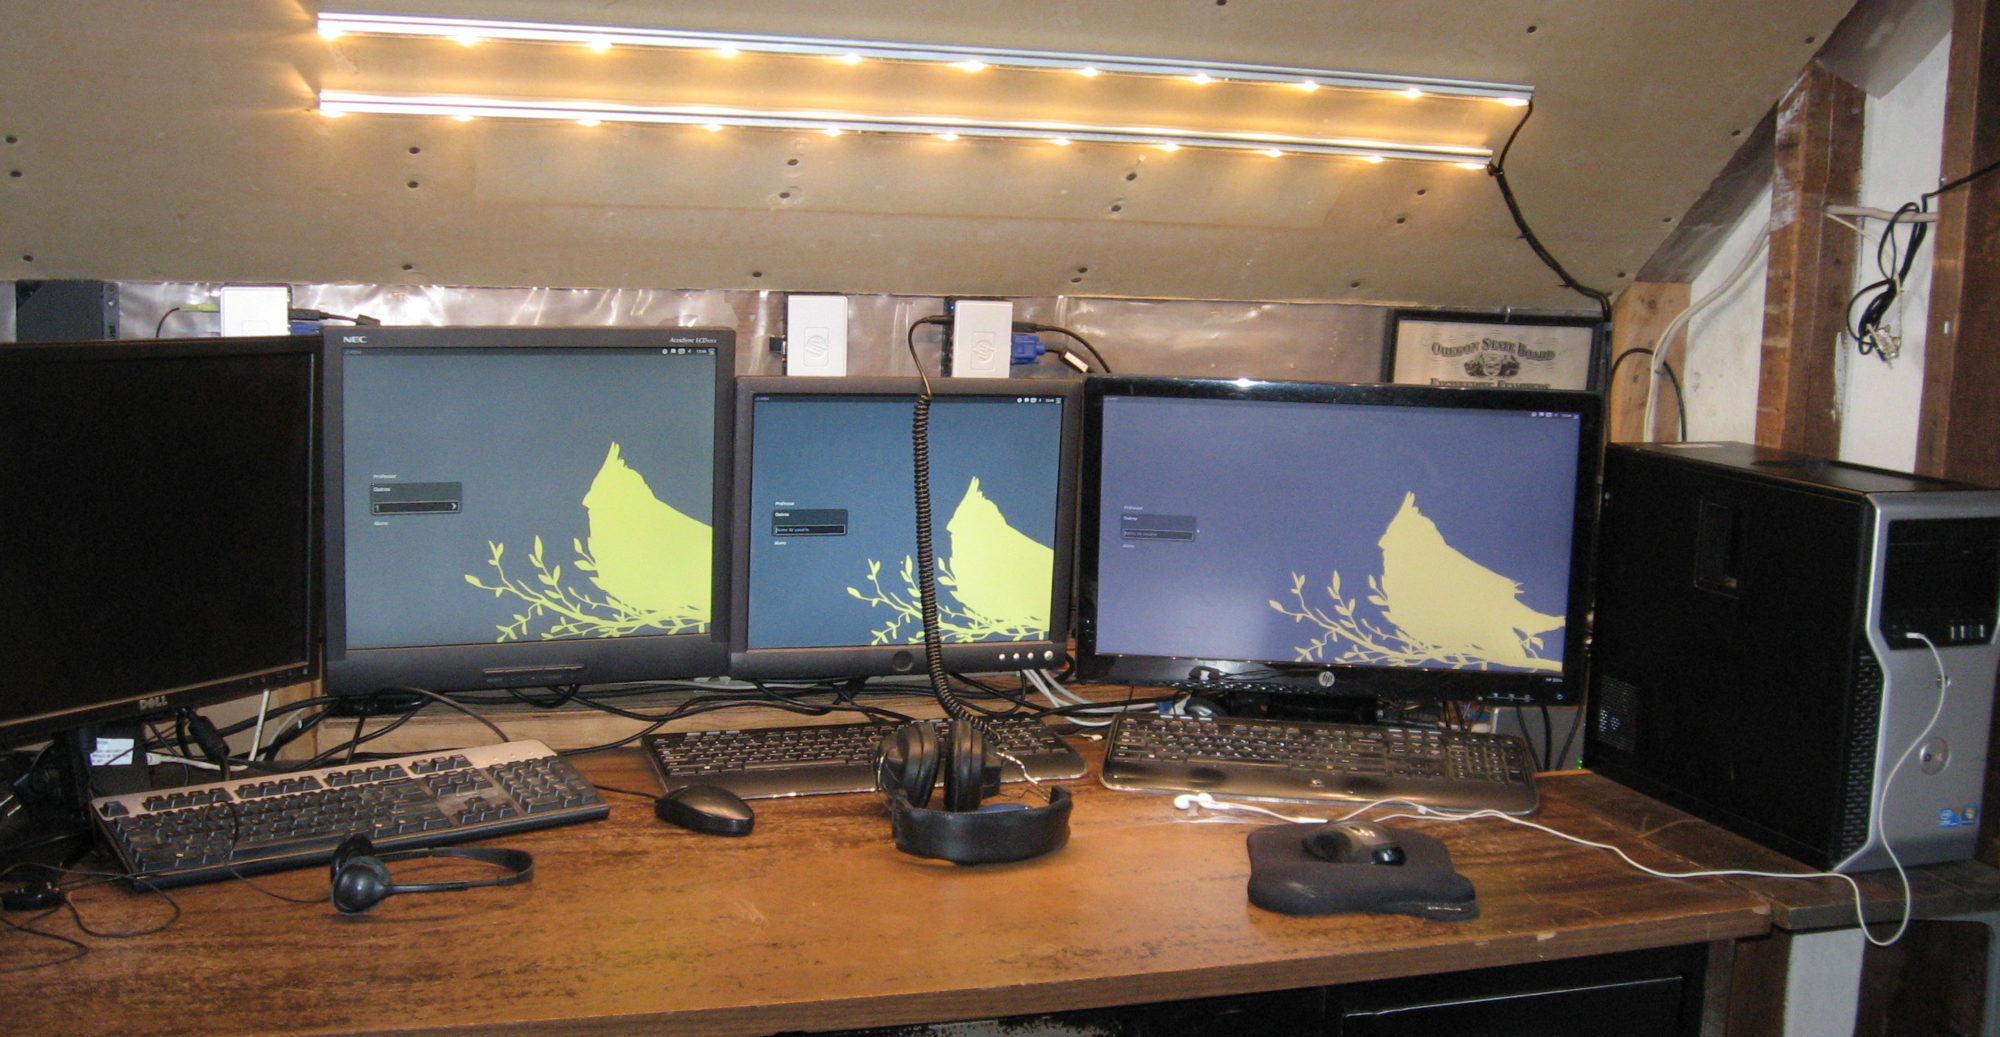
See my X2GO page for installing x2goclient to access a remote computer. I particularly like having dual monitors because I can run a full local XFCE graphical desktop on one monitor and x2goclient on the second monitor to access a different, remote computer that may be more powerful. https://raspiplayer.com/x2go/ Unlike other network connected zero clients, I have a full OS and can wake up a remote computer by sending it a WOL magic packet based on its MAC address.
I also like being able to run a complicated graphical program like GIMP on one monitor and have its help documentation handy on the other monitor. You can also drag the various tool windows to the second monitor to free the entire primary monitor for your picture.
As of October 10th 2023, there is a new release of the Raspberry Pi OS based on Debian 12 which simplifies some of the steps below for earlier versions as noted.

Dual HDMI Monitors on Raspberry Pi 4B requires no additional system software.
Note that HDMI and analog headphones have separate volume controls. Run alsamixer in terminal, press F6, and choose headphones to then increase volume if desired. The volume control on the upper right panel is a master volume control for both HDMI and analog audio which modifies the separate settings in alsamixer. I did not need this step for the October 10th 2023 release of the Raspberry Pi OS.

Netflix, Hulu, Amazon Prime, Disney+, HBO, Spotify, Pandora, Hoopla, Kanopy, MUBI, BritBox, and perhaps others require DRM support. My public library system subscribes to Hoopla and Kanopy so those are the services I use to augment the DVD and BluRay collection of films the library stocks. This is no longer working for me and perhaps Google doesn’t want it to work on the Raspberry Pi in competition with its Android OS.
VLC needs the following to play commercial DVD movies.
sudo apt install libdvd-pkg && sudo dpkg-reconfigure libdvd-pkg
Adding frequently used apps to the panel. By default, the panel shows icons for dropping down the main menu, for the Chromium Browser, for the File Manger, and for the CLI Terminal. I like to add Firefox and the text editor to the panel. the October 10th 2023 release of Raspberry Pi OS does this differently with a new right click option for software in the main drop down menu to add a panel launcher button. For older versions, continue below.
To add an app to the panel that exists in the main menu, 1) right click on the panel and select add/remove panel items, 2) in the pop up, select the “Panel Applets” Tab, 3) Select “Application Launch Bar,” 4) Then click on “Preferences” on the right giving you this picture:

In this case I selected “Text Editor” in the right window and when I then clicked “Add” in the middle column, it was appended to the list in the left window and also appeared in the panel I wanted to add it to. At this time I can use the Up/Down options in the middle column to change its location in the list in the panel, or just “Close.”
The 64 bit version of Bullseye does not currently come with the recommended software that the 32 version comes with. You will probably want to install some, or all, of the following (libreoffice and firefox now are included in the October 10th 2023 full release of Raspberry Pi OS):
sudo apt-get install transmission

sudo apt-get install gimp gimp-help-en

sudo apt-get install libreoffice

sudo apt-get install firefox-esr

sudo apt install simple-scan

sudo apt-get install brasero
